 Tampa Roofing
 Siding That Has to Work for Lutz, Not Just Look Good
Lutz sits in the northern part of Hillsborough County, close enough to Tampa's job market and amenities to feel like part of the metro, but with a mix of housing stock that ranges from older lakefront ranch homes to newer subdivisions built over the last two decades. What almost every Lutz home shares, regardless of age or style, is exposure to the same brutal climate cycle: long, humid summers, intense year-round UV, sudden wind-driven downpours, and the real chance of hurricane-force wind during storm season. Siding here isn't just a cosmetic layer — it's the primary barrier standing between your framing and a climate that never really lets up.
When we install siding in Lutz, we're not treating it as a generic "curb appeal" upgrade. We're treating it as a system that has to shed water correctly, resist UV degradation, hold paint and color without failing early, and stay attached through wind events that regularly test Hillsborough County's building code minimums. That's the lens this entire page is written from.
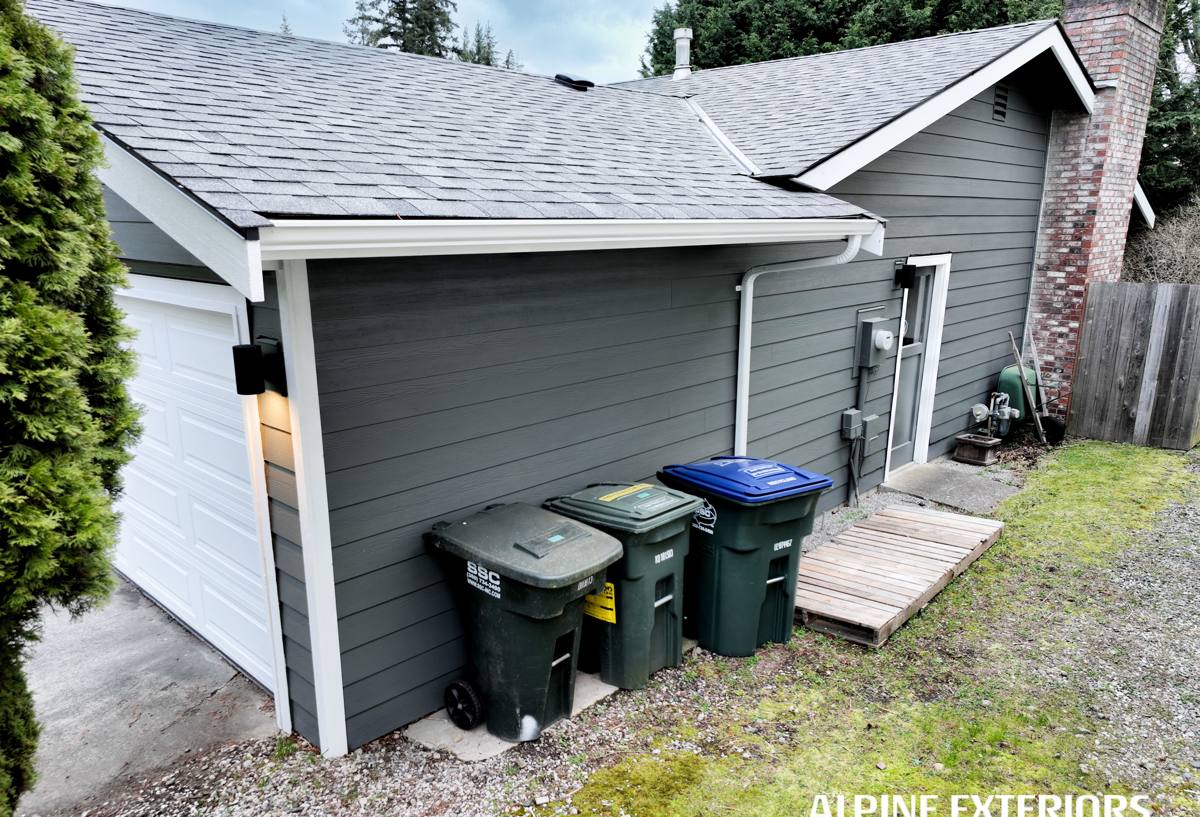
What Tampa Bay's Climate Actually Does to Siding
It helps to be specific about what siding is up against here, because the failure modes in Lutz aren't hypothetical — they're predictable, and they show up on a schedule if the wrong product or a rushed installation is used.
Heat and UV
Central Florida gets some of the most consistent, intense sun exposure in the continental U.S. Siding materials that rely on surface paint films — rather than a factory-baked finish — tend to chalk, fade, and lose adhesion years before they would in a milder climate. South and west-facing walls take the worst of it.
Humidity and Moisture Cycling
Tampa Bay's humidity means siding rarely gets a true "dry season." Materials that absorb moisture, swell, or trap water behind them are set up for rot, mold, and fastener failure — especially at butt joints, corners, and anywhere caulk is doing more work than it should.
Wind-Driven Rain and Storm Season
Rain in this region doesn't fall straight down — tropical systems and summer storms push it sideways, driving water into any gap, lap, or seam that isn't properly lapped, flashed, and sealed. This is where installation quality matters as much as the product itself.
Salt-Bearing Air
Lutz isn't beachfront, but Tampa Bay's proximity means salt-laden air still travels inland on wind events, accelerating corrosion on fasteners, trim, and any hardware that isn't rated for it.
What a Correct Siding Installation Involves
A siding job that holds up in this climate is won or lost in details most homeowners never see once the wall is closed up. This is the baseline we work to on every Lutz project:
- Substrate inspection and repair — checking sheathing for existing rot or moisture damage before anything new goes on, since new siding over a compromised wall just hides a problem
- Proper weather-resistive barrier — a continuous, correctly lapped moisture barrier behind the siding, not just whatever was already there
- Correct flashing at every penetration — windows, doors, hose bibs, vents, and any other wall penetration need dedicated flashing, not caulk alone
- Manufacturer-spec fastening — fastener type, spacing, and placement matter for wind rating and warranty validity; this is a place where shortcuts don't show up until a storm hits
- Proper clearances — siding held off the ground, roofline, and other surfaces per spec, so it isn't sitting in standing water or trapped moisture
- Sealed and caulked joints done right the first time — using the correct sealant and joint treatment, not over-relying on caulk to compensate for gaps
Skip any one of these steps and the siding may look fine for a year or two before the underlying problem surfaces — usually as soft spots, staining, or paint failure that's expensive to trace back to its source.
Our Process for a Lutz Siding Installation
1. On-Site Assessment
We walk the home, evaluate the existing siding and substrate condition, note problem areas (shaded/damp sides, prior water intrusion, trim condition), and talk through what the home actually needs versus what's cosmetic preference.
2. Tear-Off and Substrate Prep
Old siding comes off and the sheathing gets inspected and repaired as needed before anything new is installed. This step is non-negotiable — it's the difference between a durable job and one that fails prematurely.
3. Weather Barrier and Flashing
A correctly lapped weather-resistive barrier goes on, followed by flashing at every window, door, and penetration point, set up to shed water downward and outward the way Tampa Bay's storm patterns demand.
4. Installation to Manufacturer Spec
Siding is installed following manufacturer fastening, spacing, and clearance requirements — not a generalized approach, but the specific spec for the product line being used, which is part of what keeps the warranty intact.
5. Trim, Caulking, and Finish Work
Trim, corners, and joints are finished and sealed correctly, and the site is cleaned up so the only sign we were there is the finished wall.
Why We Only Install James Hardie Fiber Cement
We get asked regularly about vinyl, LP SmartSide, and other engineered wood or composite siding products. Our answer is consistent: we've made a professional decision to install James Hardie fiber cement exclusively, because of how it performs specifically in this climate.
Fiber cement is non-combustible, doesn't absorb moisture the way wood-based products can, and holds up to sustained UV exposure far better than materials relying on field-applied paint. James Hardie's ColorPlus finish is baked on at the factory under controlled conditions, which matters enormously in a market where south- and west-facing walls take a beating from the sun nearly every day of the year.
Hardie also engineers regional product lines — including versions built for high-humidity, high-moisture climates like ours — rather than selling one national spec everywhere. That climate-specific engineering, paired with a strong transferable warranty, is why we standardized on it rather than offering a menu of lower-cost alternatives that trade long-term performance for a lower sticker price.
Common Hardie Product Lines for Lutz Homes
| Product | Typical Use | Why It Fits This Climate |
|---|---|---|
| HardiePlank lap siding | Most common, ranch and traditional home styles | Classic profile, factory finish resists Tampa Bay's UV and humidity cycling |
| HardiePanel vertical siding | Accent walls, gables, modern styles | Fewer horizontal laps for water to find, clean look on newer builds |
| HardieShingle siding | Accent areas, dimensional detail | Textured look without the moisture absorption of real wood shingles |
| HardieTrim boards | Corners, fascia, window/door trim | Matches siding durability so trim doesn't fail before the field siding does |
What Drives Cost on a Lutz Siding Project
Every home is different, but the same handful of factors move the price on most jobs we quote in this area:
| Factor | Why It Matters |
|---|---|
| Home size and wall square footage | Directly drives material and labor quantity |
| Condition of existing siding and sheathing | Rot repair or extra substrate work adds time and material |
| Number of stories and accessibility | Second-story and hard-to-access walls take more labor and equipment |
| Architectural detail (trim, gables, dormers) | More cuts, corners, and trim work than a simple rectangular wall |
| Product line and profile chosen | Lap width, texture, and trim selections affect material cost |
We walk through these specifics during the on-site assessment so the estimate reflects your actual home, not a generic square-footage guess.
Why a Crew That Already Works in Lutz Matters
Hillsborough County's permitting and wind-load requirements apply to siding work, and a crew that already pulls permits and passes inspections in this area moves through that process without surprises. Just as important is familiarity with how homes in Lutz are actually built — the mix of older construction methods and newer builds means substrate conditions vary more than in a subdivision built all at once. A crew that's seen both knows what to check for before the first panel goes up, not after a problem shows up during a storm.
A Checklist Before You Hire Anyone for Siding Work
- Ask what siding material they install and why — and be wary of a contractor who installs "whatever you want" with no professional standard
- Confirm they pull the required Hillsborough County permits rather than skipping the process
- Ask how they handle substrate repair if rot or moisture damage is found once old siding comes off
- Get specifics on fastening and flashing methods, not just the brand name of the siding
- Check that the warranty covers both material and workmanship, and understand what voids it
- Get a written estimate that accounts for your home's actual condition, not a flat per-square-foot number sight unseen
Ready to Talk About Your Home
If your Lutz home's siding is showing its age — fading, soft spots, failing caulk lines, or just years of sun and storm wear — we're happy to take a look and talk through what correct James Hardie installation would involve for your specific house. Fill out the form below for a free, no-pressure estimate.